Student Registration Form
- 08 Jan 2025
- 3 Minutes to read
- Print
Student Registration Form
- Updated on 08 Jan 2025
- 3 Minutes to read
- Print
Article summary
Did you find this summary helpful?
Thank you for your feedback!
Re-registration is essential for managing student registrations. It allows you to create customizable forms, collect payments, and track submissions with ease. Whether a student is enrolled, on hold, or graduated, you can send the registration form during setup, share it later, or provide a link or embed code to add the form as a button on your website.
Once submitted, the Procare Online Registration System automatically searches for potential matches based on specific criteria. You can review the submission and approve or decline it. Approving the registration ensures that the most up-to-date information is reflected in the student profile.
The completed registration form will be saved as a document in the student’s profile, making it easy to access later.
Creating and Sharing Forms
Create the Form
- Select Active Student from the available options.
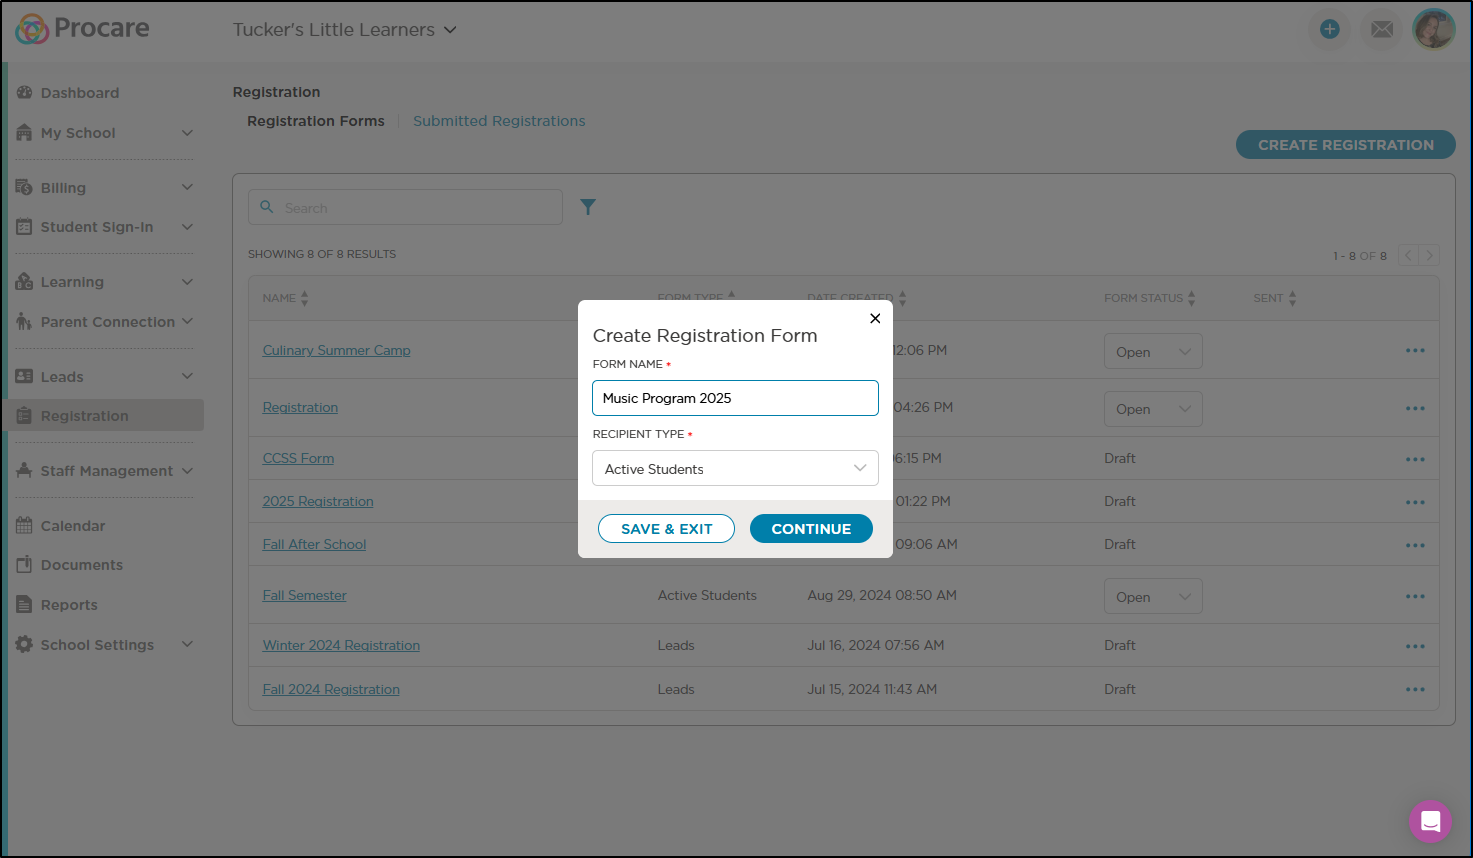
- Customize the registration form by adding form fields.
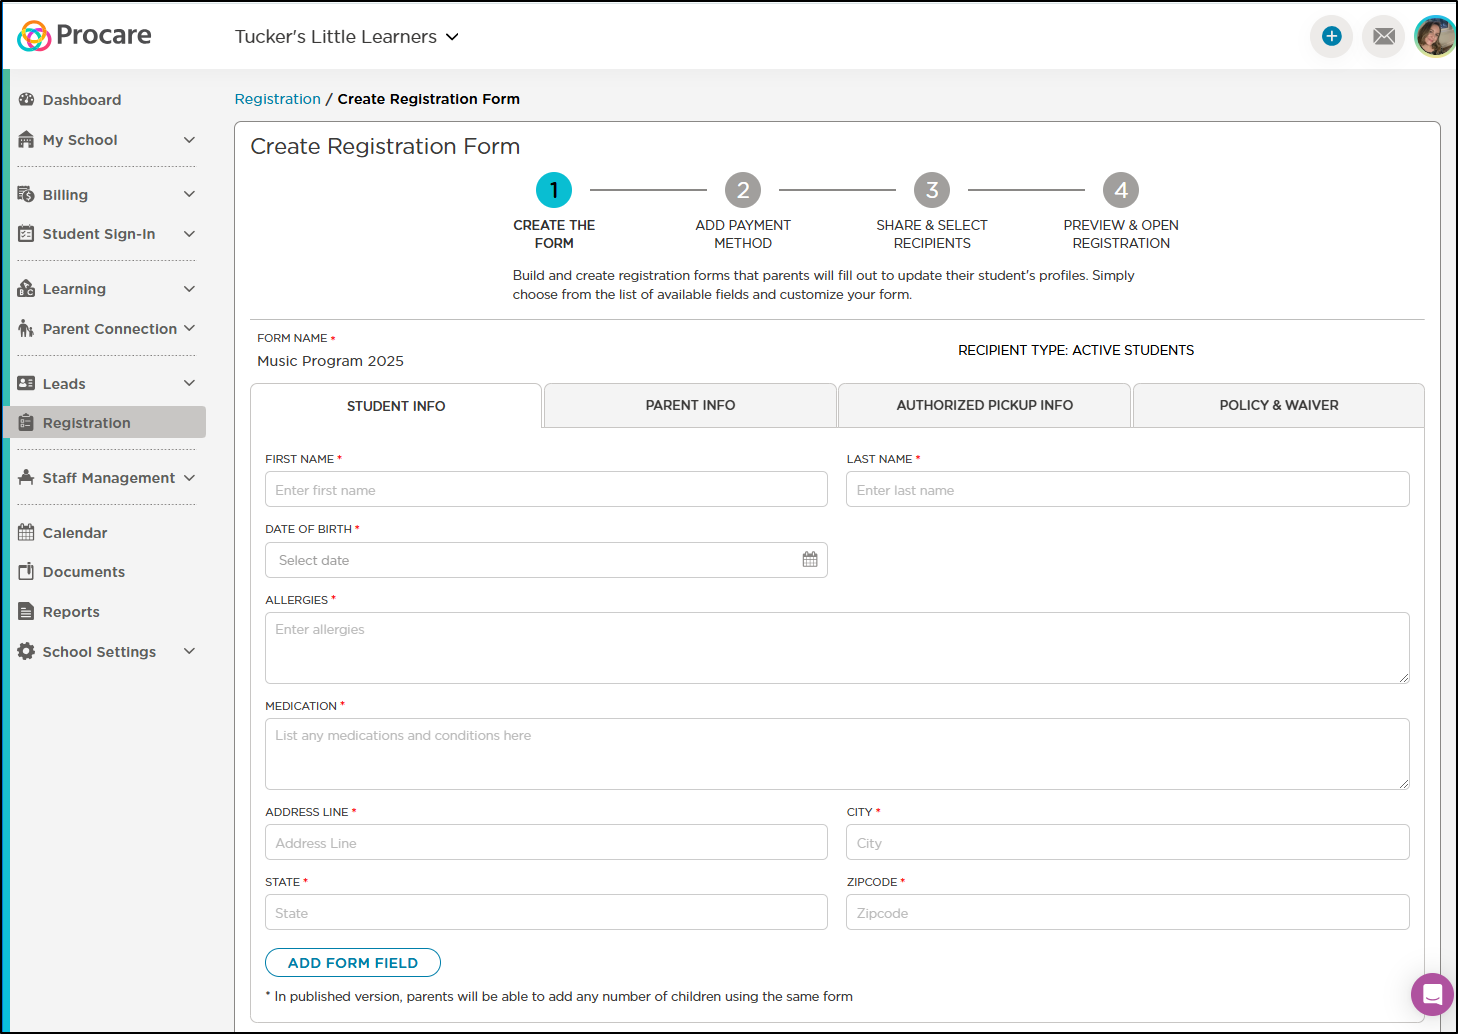
- Save the form as a draft to make edits later before finalizing.
- Open the form for submissions when ready, allowing students to register.
- Close the form to prevent further submissions or edits if needed.


See: Profile Field Mapping for more information on how to save fields to profiles and transfer them upon enrollment.
This process gives you full control over form creation and management. Users must have the appropriate permissions to access Student Re-registration, similar to the Leads+ & Lead Registrant Management system.
Share the Form
Once your form is ready, you can share it via a link, embed a button on your website, or send it directly to selected students or leads.

Link: Click the copy icon to copy the direct form link and share it.
Embed a Button: Copy the code and embed the button on your website.
Send the Form: Select leads or active students to send the form to. When sending to active students, you can filter by room and tags. You can also filter and send the form to leads.
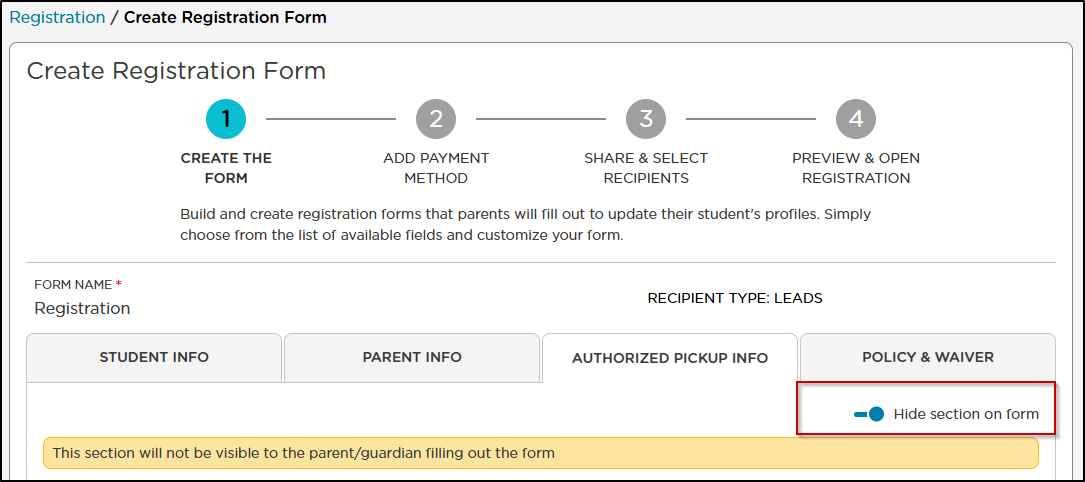
Dynamic Form Sections
The option to hide a section on the registration form is available for the 'Authorized Pickup Info' and 'Policy & Waiver' tabs. This allows you to remove these sections from the form so they won't be visible to the registrant during the registration process, simplifying the form and focusing on essential information.
Pre-authorized pickup information will be retained if a profile is updated using a form that has Authorized Pickup Info hidden.
Form Submission and Review
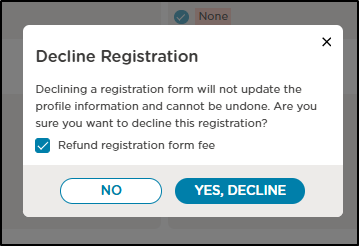
Submitted registrations appear in the Submitted Registrations tab with a New status. You can filter by different criteria and take several actions.

Actions include Review & Approve, Decline Registration, View Registration, Delete Registration and Issue Refund.

Once reviewed and processed, a registration moves to Completed.

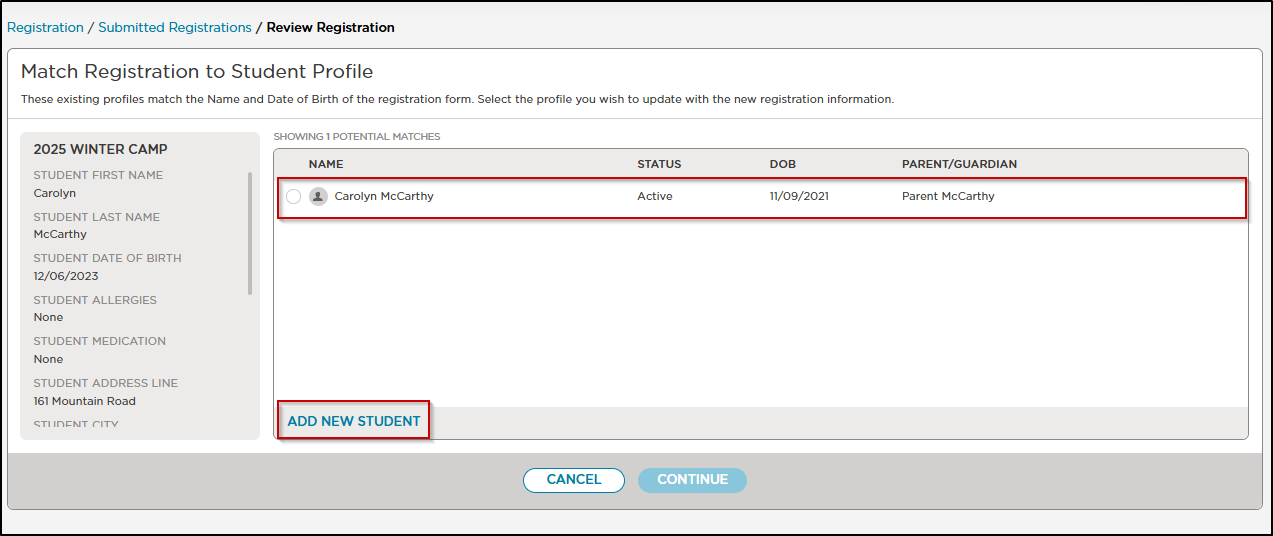
Student Registrant Match
When a registration is submitted, the system will search for any existing student profiles that match the provided information.
Choose a name from the list of profiles that match the Name and Date of Birth on the registration form. Select the profile you want to update with the new registration details.
If there is no true match, you can select Add Student.
Upon selecting a profile to compare if there is a match, you can choose to update/change fields. If you hover over the fields in update dprofile there is a pencil icon and you could make updates different from the form.
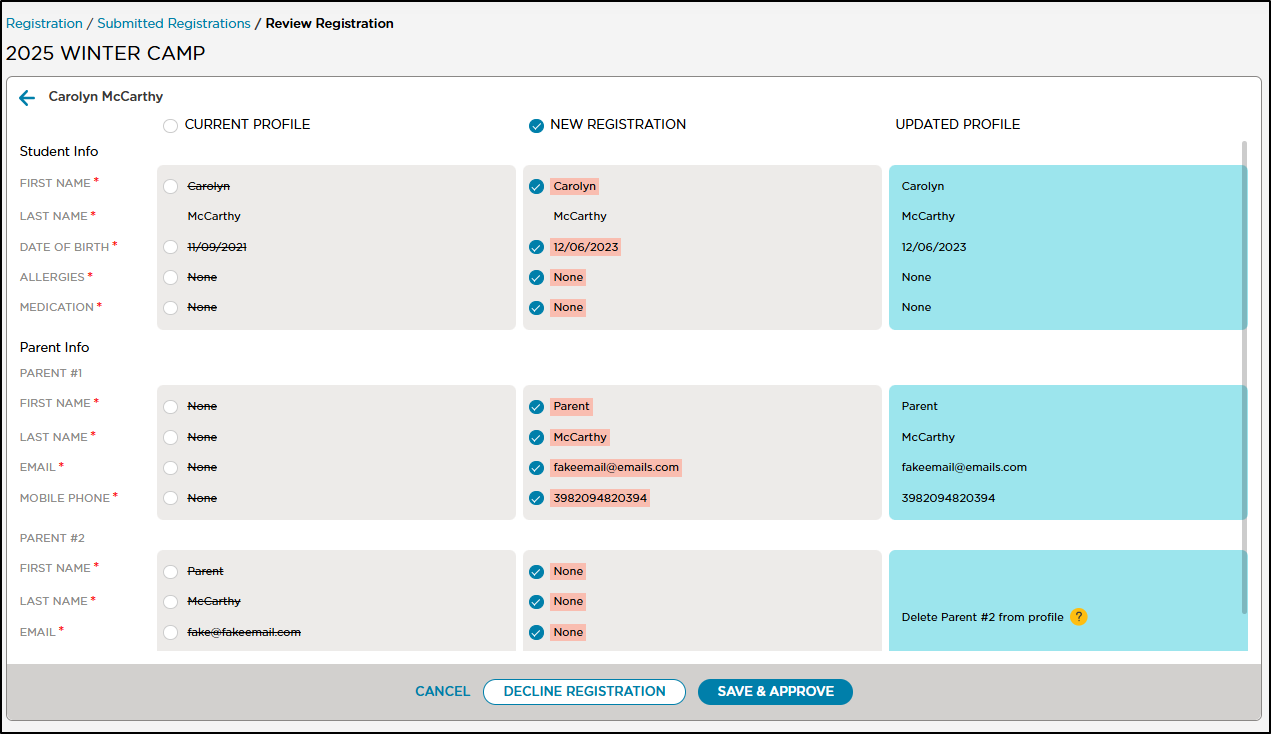
Select Cancel, Decline or Approve the registration.


Once you approve the registration, the updated information will be reflected in the student’s profile. If no match is found, you have the option to add a new student and create their profile.
No Matches Found
If there are no existing matches for the registration, a prompt will appear to either decline or save and approve it. The registrant's details will display under the updated profile.
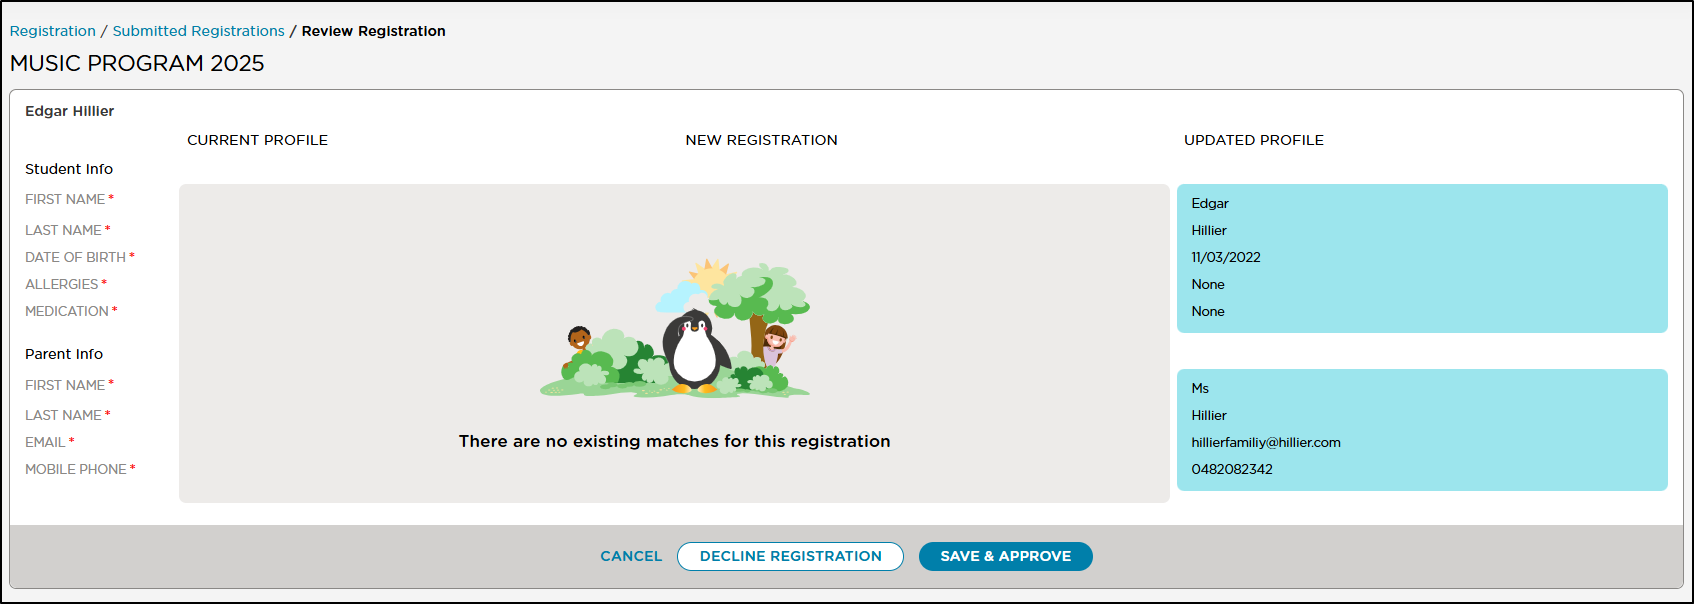
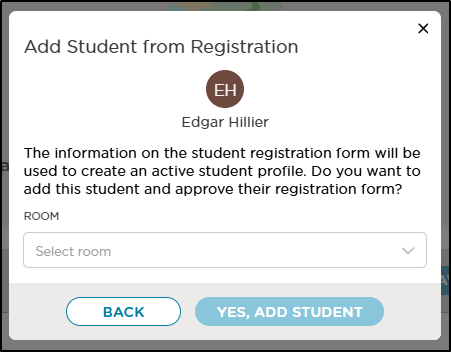
A prompt will then appear to add the student from the registration. Select a room, confirm by choosing Yes, Add Student, and approve the registration.
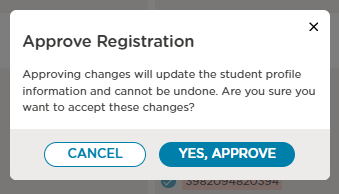
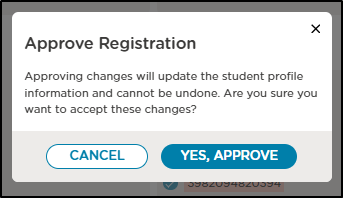
Select Yes, Approve . The student will now be listed under MySchool > Students.


Updating Profiles
When you approve a registration, the student's profile is updated with the latest information. This update is permanent and cannot be undone. The completed registration form will be saved as a document under Student Profile > Documents for future reference.
Additional Notes
- Leads vs. Active Students: Leads are processed and appear in the Leads area, while students are already enrolled. For re-registration, the student is already listed in the system.
- Approving a registration does not automatically move the student to a different room. This must be done separately as an additional step.
Was this article helpful?