Setting Up Autopay
- 04 Apr 2025
- 1 Minute to read
- Print
Setting Up Autopay
- Updated on 04 Apr 2025
- 1 Minute to read
- Print
Article summary
Did you find this summary helpful?
Thank you for your feedback!
If your school has enabled autopay, you have the option to set it up while making a payment.
Autopayments include the payment amount for any outstanding balance on the account for invoices with a current or past due invoice date. Future dated invoices will be processed for autopay matching their invoice due date.
Enabling Autopay
Before you can enable Autopay, you must have a payment method set up. See: Add, Change, or Remove Your Online Payment Method for instructions. Once a payment method has been added, follow the steps below for setting up autopay.
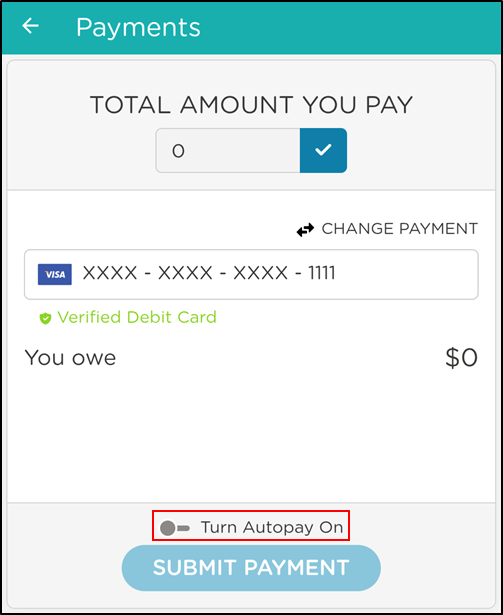
- Click the Menu icon, then select Make Payment.
- Toggle the Turn Autopay On option.

Disabling Autopay
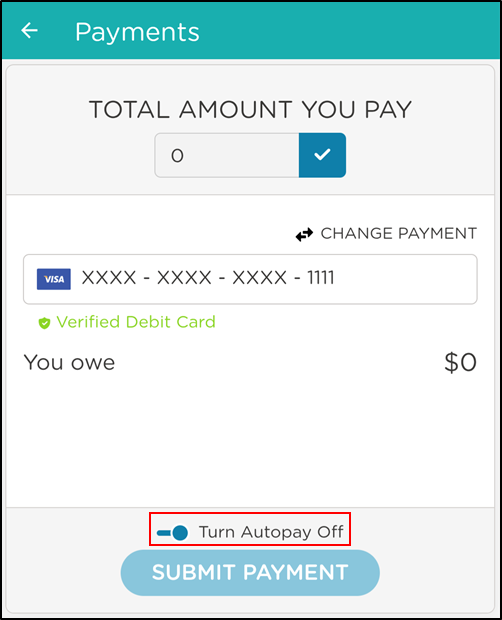
Please Note: If you disable autopay, you will need to initiate the payment every billing cycle.
- Click the Menu icon, then select Make Payment.
- Toggle the Turn Autopay Off option.

Additional Information
- Autopay will run the oldest payment method on file. If both parents use the same payment method, and an update needs to occur, both parents must update on each account.
- The school retains the ability to manually auto-debit even if autopay is disabled (talk to your school for details).
Was this article helpful?