Incident Management
- 20 Mar 2025
- 2 Minutos para leer
- Impresión
Incident Management
- Actualizado en 20 Mar 2025
- 2 Minutos para leer
- Impresión
The content is currently unavailable in Spanish. You are viewing the default English version.
Resumen del artículo
¿Te ha resultado útil este resumen?
Gracias por sus comentarios
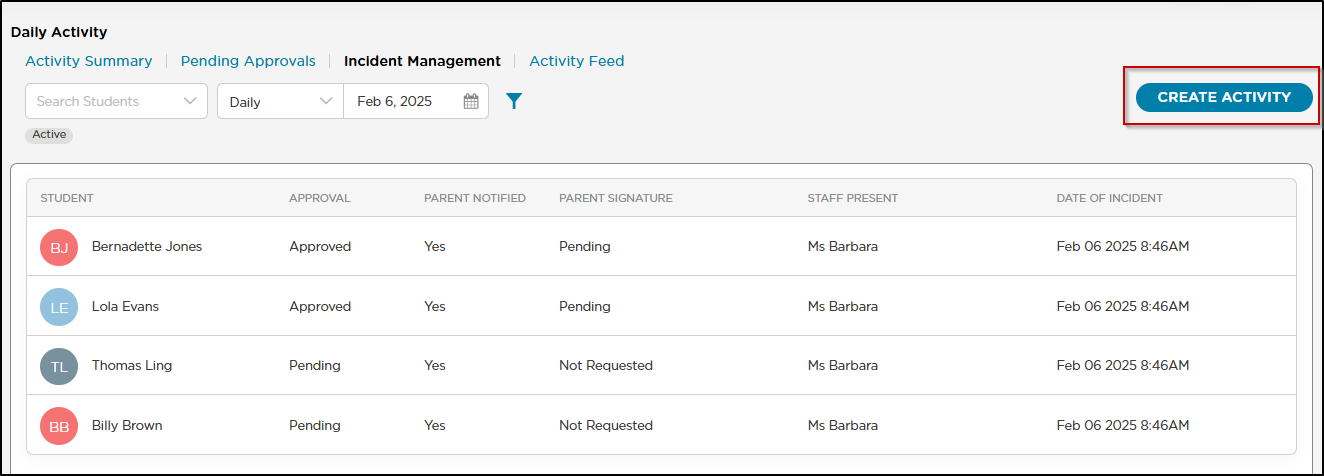
The Incident Management page displays all recorded incident activities for your center. This centralized view allows staff to track, manage, and update incident reports while maintaining detailed records of all occurrences.
Incidents are displayed in chronological order, with the most recent entries at the top. Each entry includes key details like the student name, incident type, timestamp, and current status (e.g., pending signature, approved).
Filter Options
Use the following filter options to display a specific student or group of students:
- Select a student from a drop-down list
- View by day or week
- Select a date or date range
- Room
- Tags
- Enrollment status (Active is the default view)
- Pending Digital Signatures
Creating Activities
Activities can be created from the Activity Summary, Activity Feed, or Incident Management screens. The process is the same on all screens:
- Navigate to the Parent Connection > Incident Management screen, then click Create Activity.
- Select the activity you wish to record.
- Complete the popup and click Save.

Important Notes:
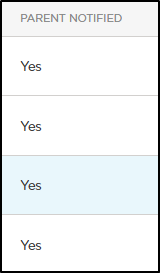
Was the parent notified? - When selected the parent notification column will reflect Yes
Staff Only - Requires Admin Approval for Parents - When selected, an admin is required to review and approve the activity prior to sending to parents. Before approval, the activity will only appear for admins under the Parent Connection > Pending Approvals screen.

Digital Signatures
Enabling Digital Signatures
- Navigate to School Settings > Daily Activities
- Enable digital signatures
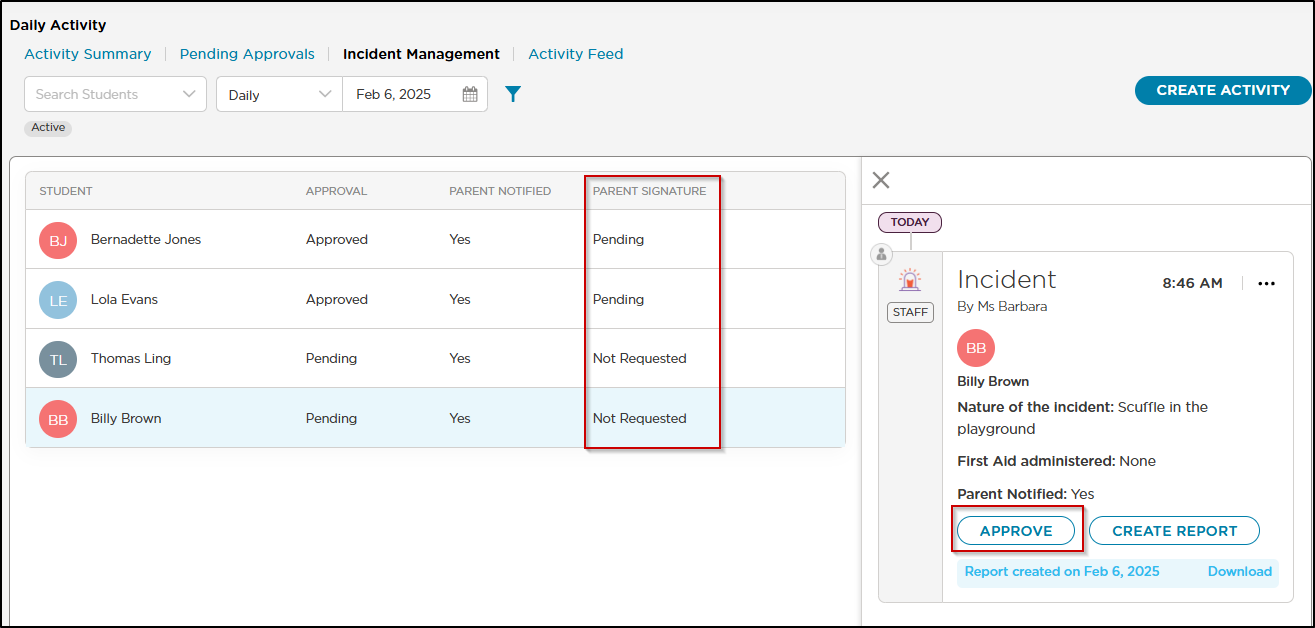
Once enabled, staff are required to provide a digital signature when completing an incident report.. Additionally, a Parent Signature column will appear in the Incident Management tab, and a dashboard tile will show all pending signatures for the current week.

Requesting Parent Signature
- Select the incident activity
- Click Create Report
- Choose the signatures to include (Admin, Staff, Parent)
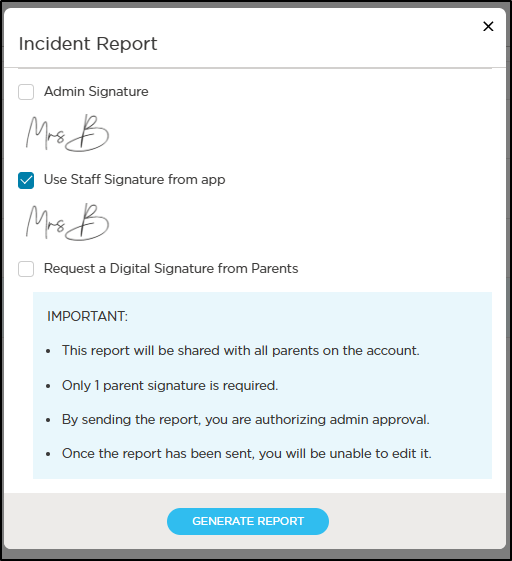
- Generate the report
- The Parent Signature column will update to Pending if requested, or Not Requested if not


Important:
- If you need to approve the incident, do so before creating the report. Creating the report and requesting a parent signature will automatically approve it.
- The report will be shared with all parents on the account; only one parent signature is required.
- Once the report is sent, it cannot be edited.
- You can send the report without requesting a parent signature if a wet signature is required or no signature is needed.
Additional Details
After selecting the an activity line, then use the More Actions icon on the right to edit the details or delete the activity.

Note:
- Incident reports cannot be edited once they have been sent for parent signature
- Digital signatures can only be requested for incidents created after enabling the digital signature setting
- Both admin and non-admin staff can edit or delete activities, but only admins can approve activities set to require approval
View Photos/Videos
View photos and videos sent as Daily Activities or saved to Procare Cloud.
¿Te ha sido útil este artículo?