General - Online
- 03 Dec 2023
- 2 Minutes to read
- Print
General - Online
- Updated on 03 Dec 2023
- 2 Minutes to read
- Print
Article summary
Did you find this summary helpful?
Thank you for your feedback!
Report Description
The online report allows administrators the ability to view a roster of the students without creating a PDF or excel document. Administrators can also charge fees, change rooms, and merge documents.
Report Conditions
Center, Semester, Category, or Room must be selected for this report to display data
Accessing the Report
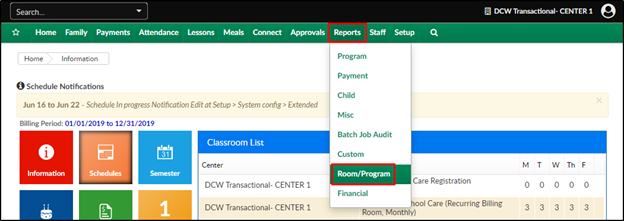
Click Reports, then select Room/Program
Use the Quick Search to locate the Online (General) report

Select the Search Criteria. Please Note: One or more of the following must be selected: Semester, Category, Classroom must be selected
- Center – choose the center or business level
- Semester – select the semester to filter students by semester
- Category – choose the category to view students only in the selected category
- Classroom – select the classroom to view only students in that classroom
- From Date – choose a date
Click Create Report
There are multiple tabs of data
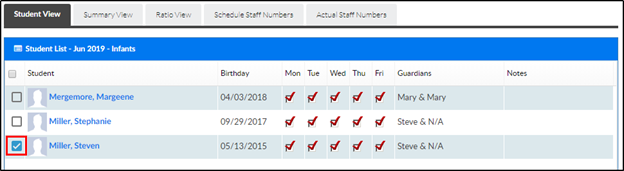
- Student View – students with an active PRA for the class, semester, or category will display, along with their birthday, days they are scheduled, guardians, and notes. By clicking the student’s name, the system will be directed to the student’s record

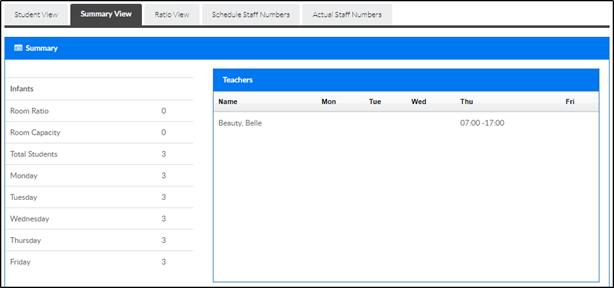
- Summary View – displays a summary of the room ratio, capacity, and students scheduled each day of the week. Teacher's schedules will also display on this tab
- Ratio View – this tab displays how many students and staff are scheduled, each day for the week, along with the ratio

- Schedule Staff Numbers - this tab displays how many students and staff are scheduled, each day for the week, along with the ratio

- Actual Staff Numbers

- Student View – students with an active PRA for the class, semester, or category will display, along with their birthday, days they are scheduled, guardians, and notes. By clicking the student’s name, the system will be directed to the student’s record


Other Page Options
Classroom Change
Use this option to move one or more students to a different classroom.
- Select one or more students from the Student List
- Scroll to the bottom section and select the Classroom Change tab
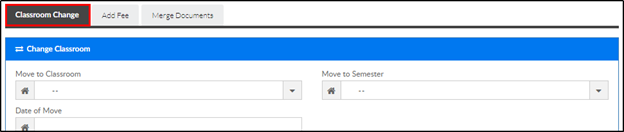
- Complete the Change Classroom section

- Move to Classroom – select the classroom to move the selected student to
- Move to Semester – choose the semester
- Date of Move – select the date the student should move to the selected classroom
- Click Move
- A confirmation message will appear, click OK


Add Fee
Use this option to add a fee to one or more students at a time.
- Select one or more students from the Student List

- Scroll to the bottom section and select the Add Fee tab

- Complete the Adjustments section
- Adjustment Type – select the adjustment type
- Amount – enter the amount of the fee
- Date – choose the date
- Note – enter additional details about the fee, if applicable
- Click Add
- A confirmation message will appear, click


Merge Documents
This option allows the selected document type to be merged into one PDF for the selected classroom.
Select one or more students from the Student List

Scroll to the bottom section and select the Merge Documents tab

Select the Document Type from the drop-down list
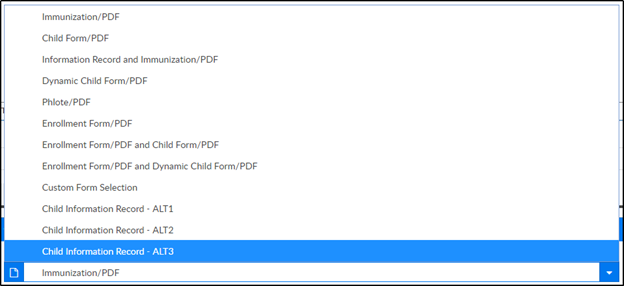
Choose the merge option
- Entire Classroom – merge the entire list of students above
- Selected Children – merge only the selected students from above
- Entire Missed Children –
The Document Merge List will display
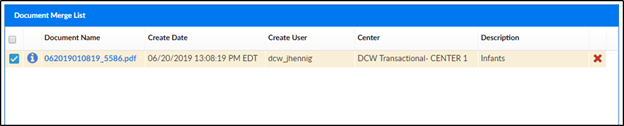
Click the blue i icon to view the list of students included in the PDF

Click the Document Name to view

To remove the document from the list, click the red X


Was this article helpful?