Make it easy for families to pay tuition on time by setting up automatic payments from their bank account or credit card. If you’d like to save time by sending forms to multiple families at once, check out: Recurring Payment Request – Batch
Getting Started
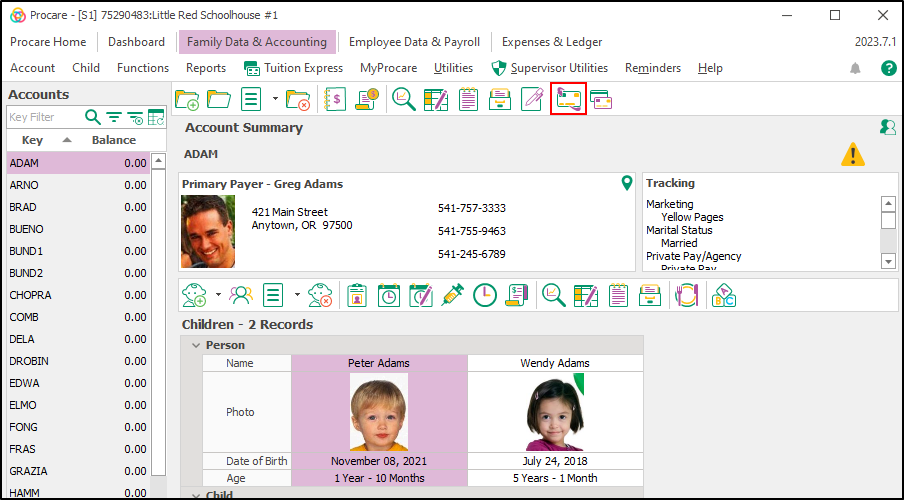
Look Up the family and click the Tuition Express icon on the account toolbar. 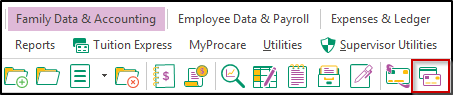
Send a Digital Recurring Payment Authorization Form
Securely collect payment details without handling paper forms or worrying about PCI compliance. Parents can complete a digital form to provide their credit card or ACH information, which your center can then use for automated tuition payments.
Sending Forms Individually
Important: After sending the authorization form, parents have four days to complete and submit the form. If a form expires, the process below must be repeated.
1. Click the Recurring Payments Request icon.
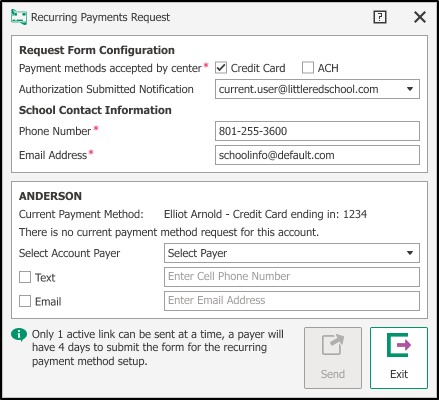
2. Complete the Recurring Payments Request screen.
a) Select which payment methods to accept: Credit Card and/or ACH.
b) From the Authorization Submitted Notification drop-down, choose the email address where completed forms should be sent.
c) The School Contact Information section is pre-filled from the Edit School Information screen but can be edited as needed.
d) Review the payer information section. If the family has a payment method on file, the last four digits of the account or card will be displayed. This process also allows adding new payment methods or updating existing ones.
e) If the message “There is a pending profile ready to import” appears, the account has been updated but not yet synced with Tuition Express.
f) The Cell Phone and Email fields will be prepopulated based on the person record. Note that the Cell Phone number is pulled from the Text Message screen, not the Person Information screen.
g) Use the drop-down to select which Account Payer will receive the authorization form.
h) Choose to send the form via Text and/or Email, then enter the appropriate contact information.
Important: The contact information will display on the email message received by families, allowing them to email or call with any questions regarding the form.
To permanently update this information, navigate to Configuration > System > Locations & Users > Regions & Schools > Select a school, then click Edit.
3. Once complete, click Send.
4. Once the request has been sent, the parent will receive a text or email containing a link to the form.
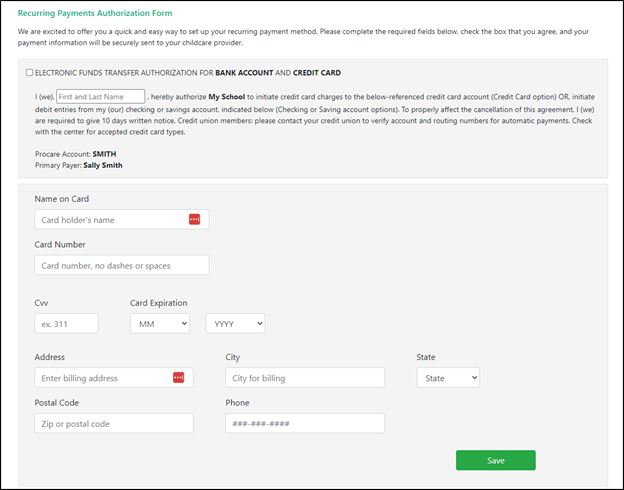
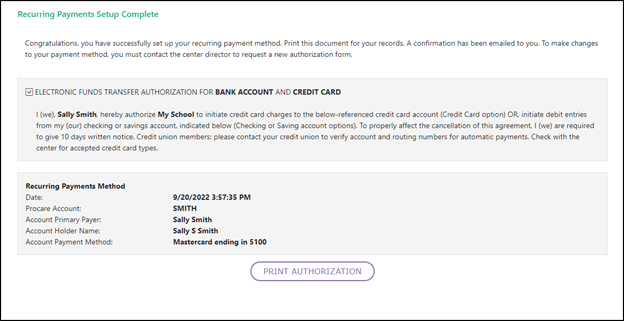
5. Upon clicking the link, the Recurring Payments Authorization Form will open for the parent to complete. Once completed, they will have the option to save or print their authorization form.
Manually Set Up a Family for Recurring Payments
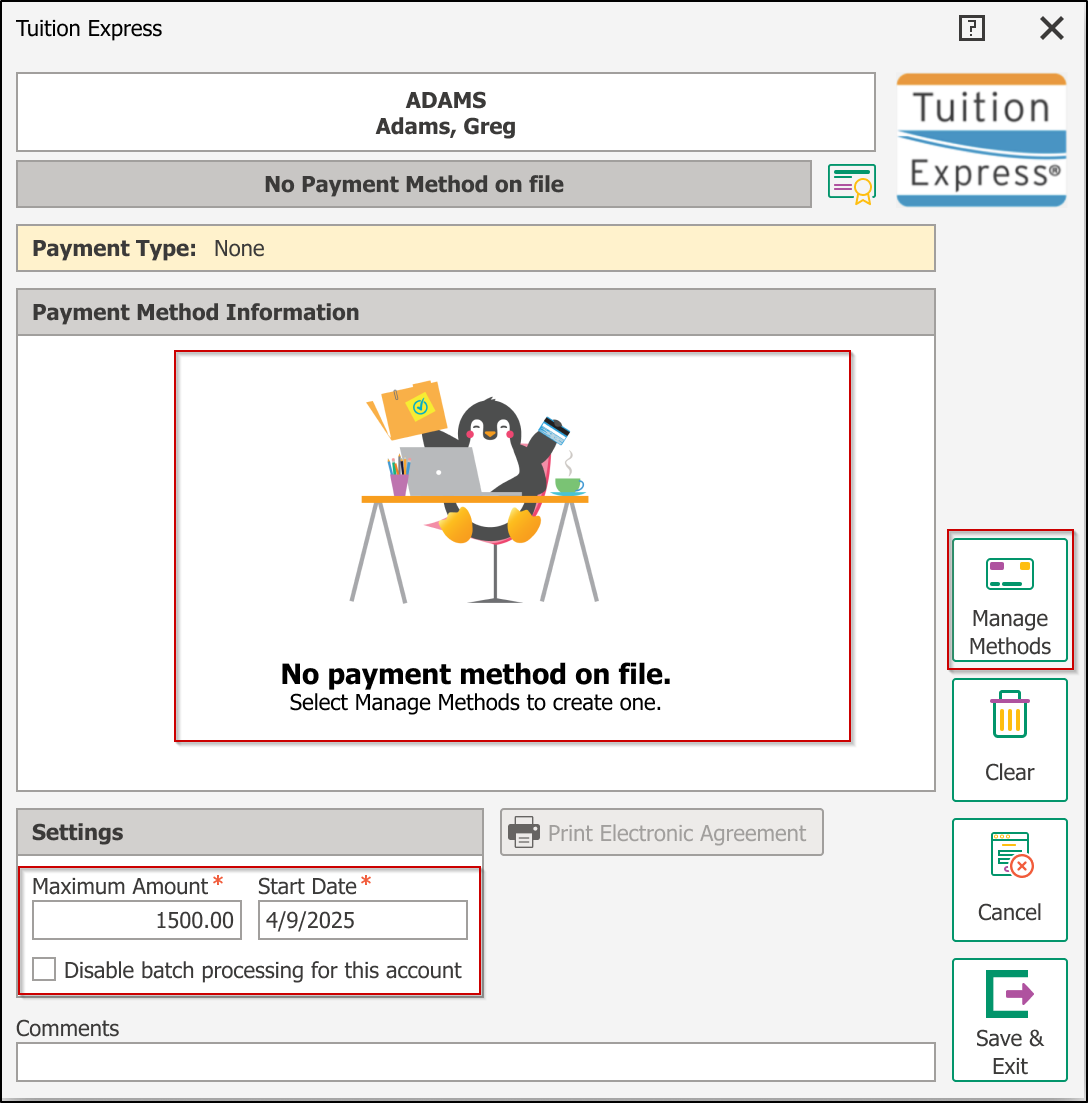
To begin setting up recurring payments for a family, navigate to the Tuition Express tab within their account. If a payment method hasn’t been added, select Manage Methods to create one before continuing.
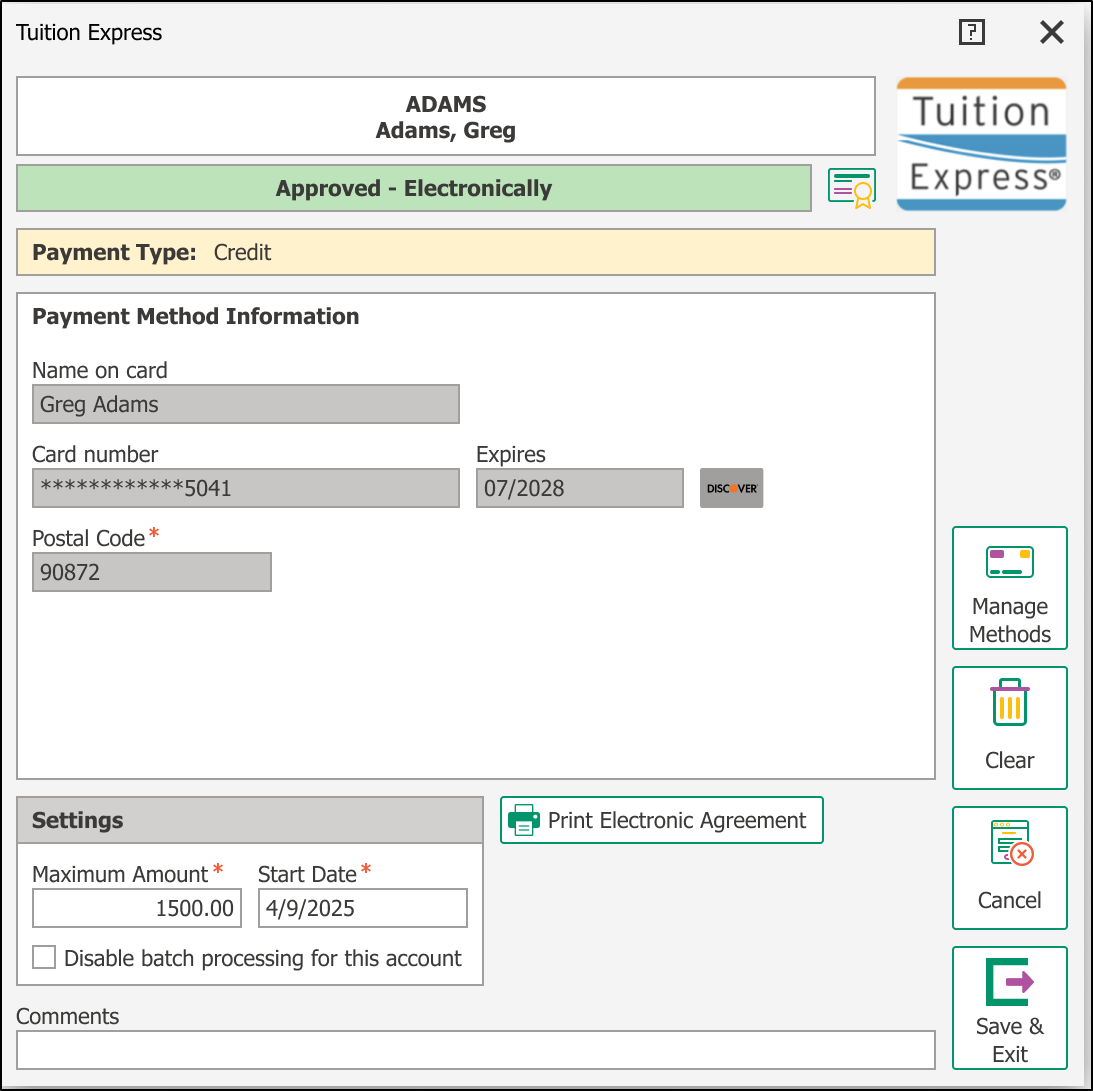
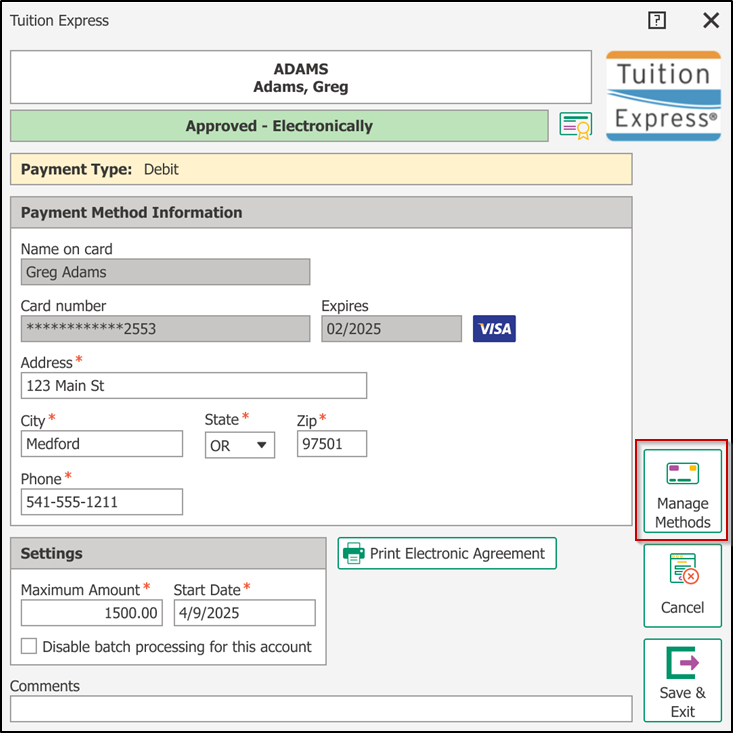
Select Checking, Savings, or Credit Card as the payment type and enter the required payer information.
Enter the Maximum Amount that can be withdrawn per transaction.
This should be higher than the usual payment to cover extra charges like late pick-ups or supply fees.
Example: For a $200/week fee, a maximum of $450 is recommended.
Enter the Start Date for payments to begin. This is usually today’s date unless a future start date has been arranged with the family.
Add any Comments as needed. These are for internal use only.
Click Save & Exit. The information will be submitted for approval. Once processed, the family’s status will display as Approved on the Tuition Express screen.
Finalize Payment Setup After Authorization
After parents complete the authorization form, navigate to the Tuition Express > Process Tuition Express screen to synchronize accounts.

The payment profiles will automatically begin to synchronize. Once complete, click Next.

After synchronizing the profiles, the payment information will populate on the Tuition Express screen.
Important: Clicking the Clear button from this screen will delete the current payment information on file from Tuition Express.
a. Click the Print Electronic Agreement button to print the completed authorization form.
b. To see a history of Recurring Payment Request forms sent to parents, visit the Account Log Sheets.

Add Additional Payment Methods (Desktop Payment Profile)
Centers can now add new payment methods directly to a family’s payment profile from the Desktop.
Download the Tuition Express Authorization Form for scenarios requiring a wet signature from a payer. This applies when adding a new payment method or updating the preferred method through the Payment Profile page.
Add a new card or ACH payment method
1. Go to the family’s account and open the Tuition Express tab.
2. Click Manage Methods.
3. Choose either Card or ACH as the payment type.
For ACH use the Payment Type selection.
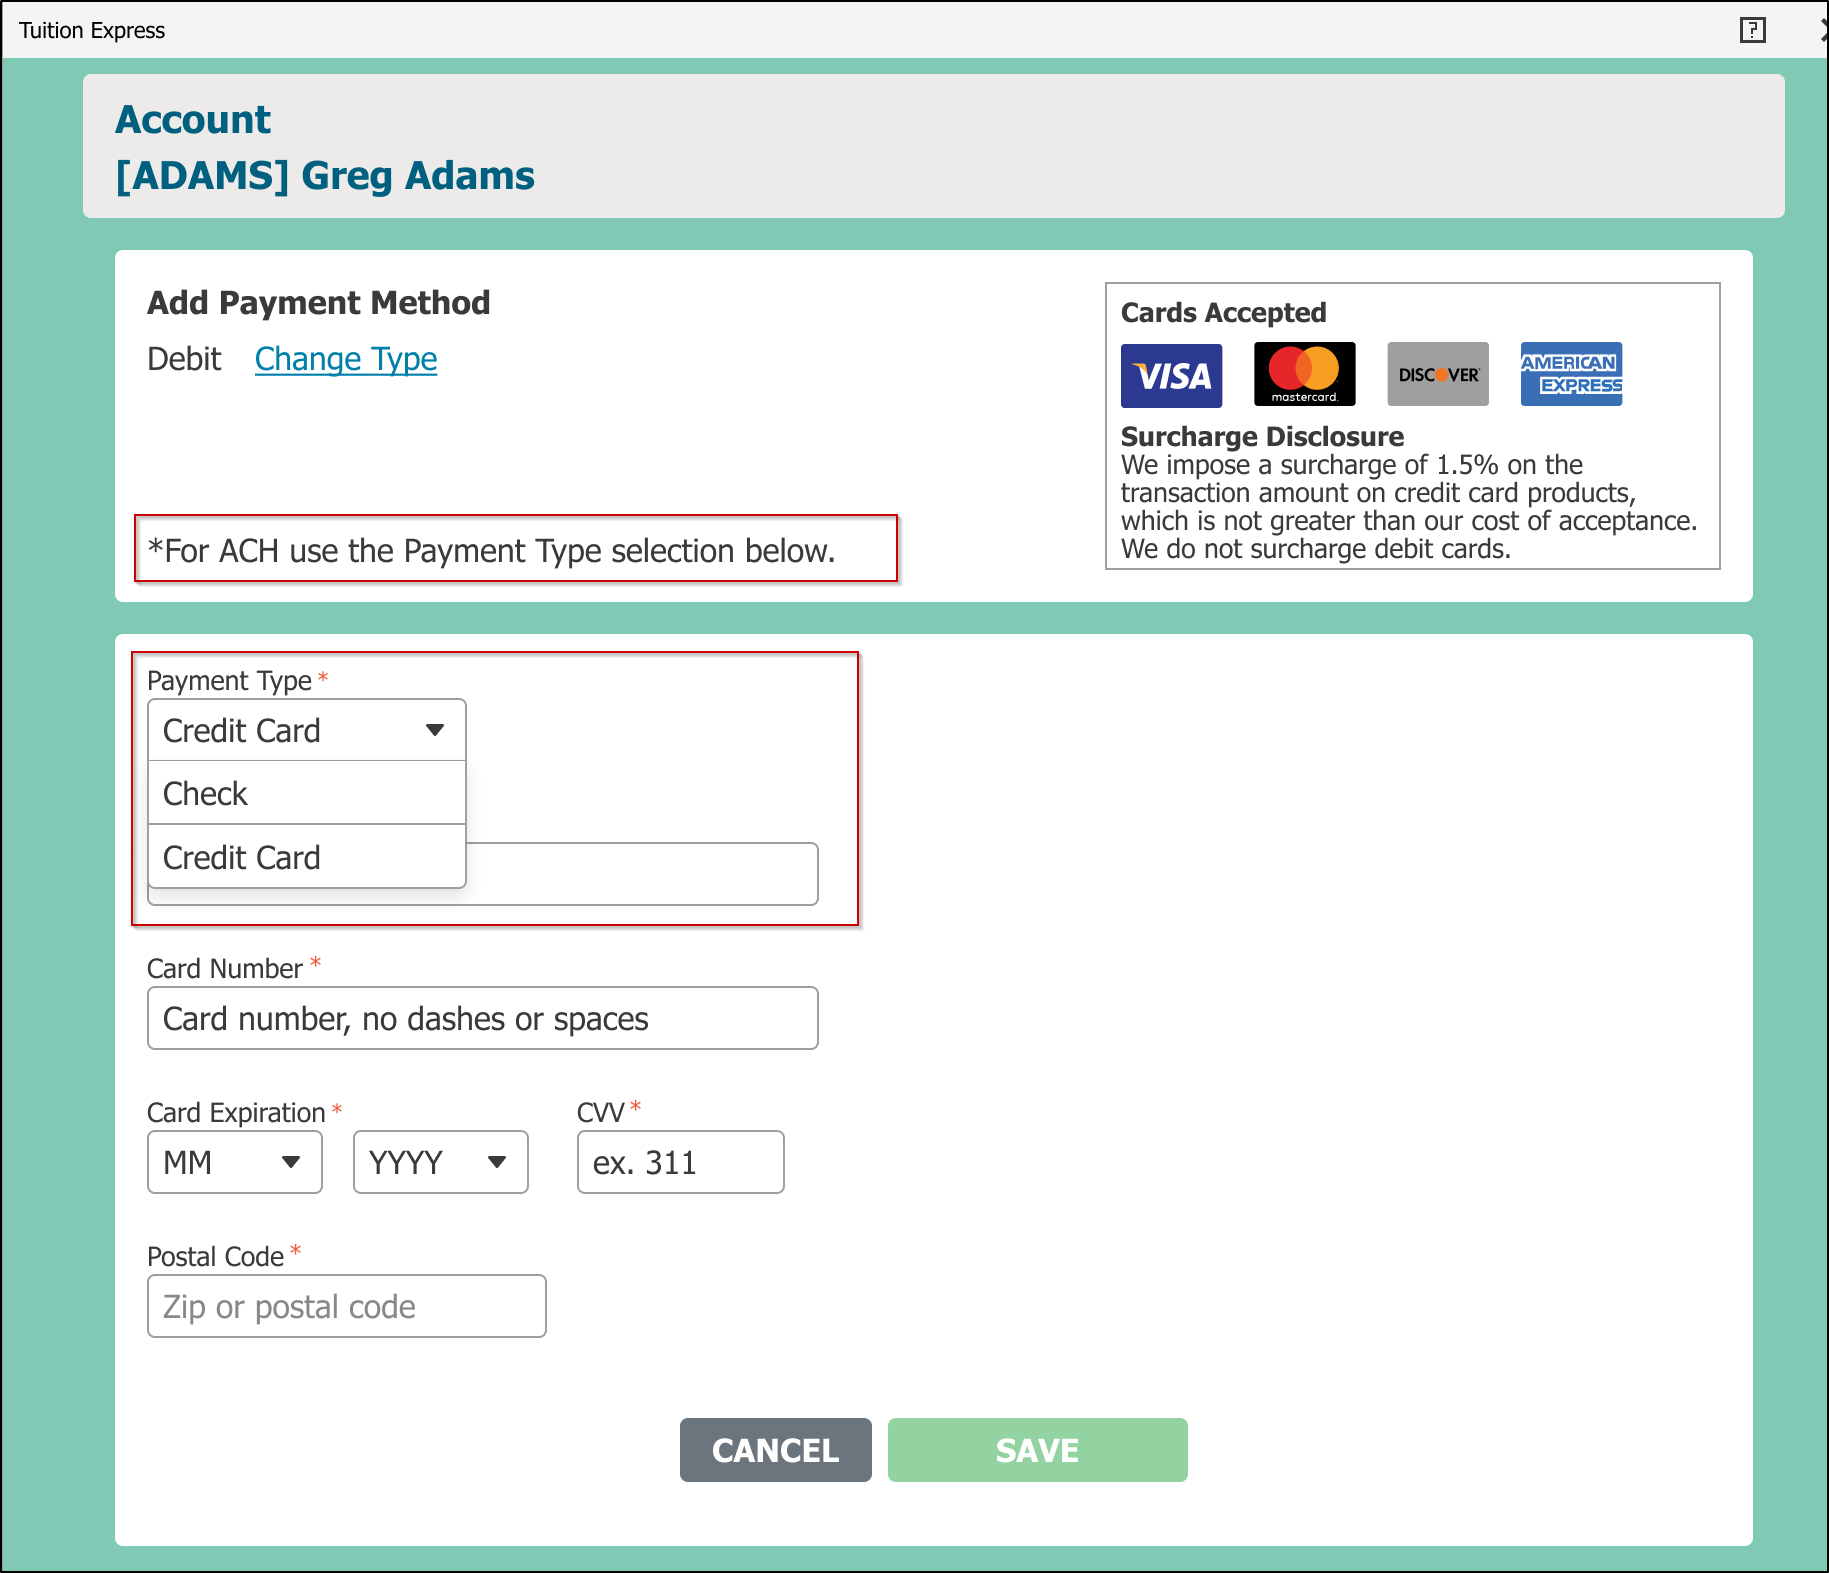
4. Enter the required payment details.
5. Click Save. The most recently added method will automatically be set as the preferred method.
Update Preferred Payment Method
Select Manage Methods
Find the payment method you'd like to set as preferred, then click Set as Preferred Method.
a) A star icon will appear next to the selected method.
b) It will move to the top of the list, indicating it's now the default.
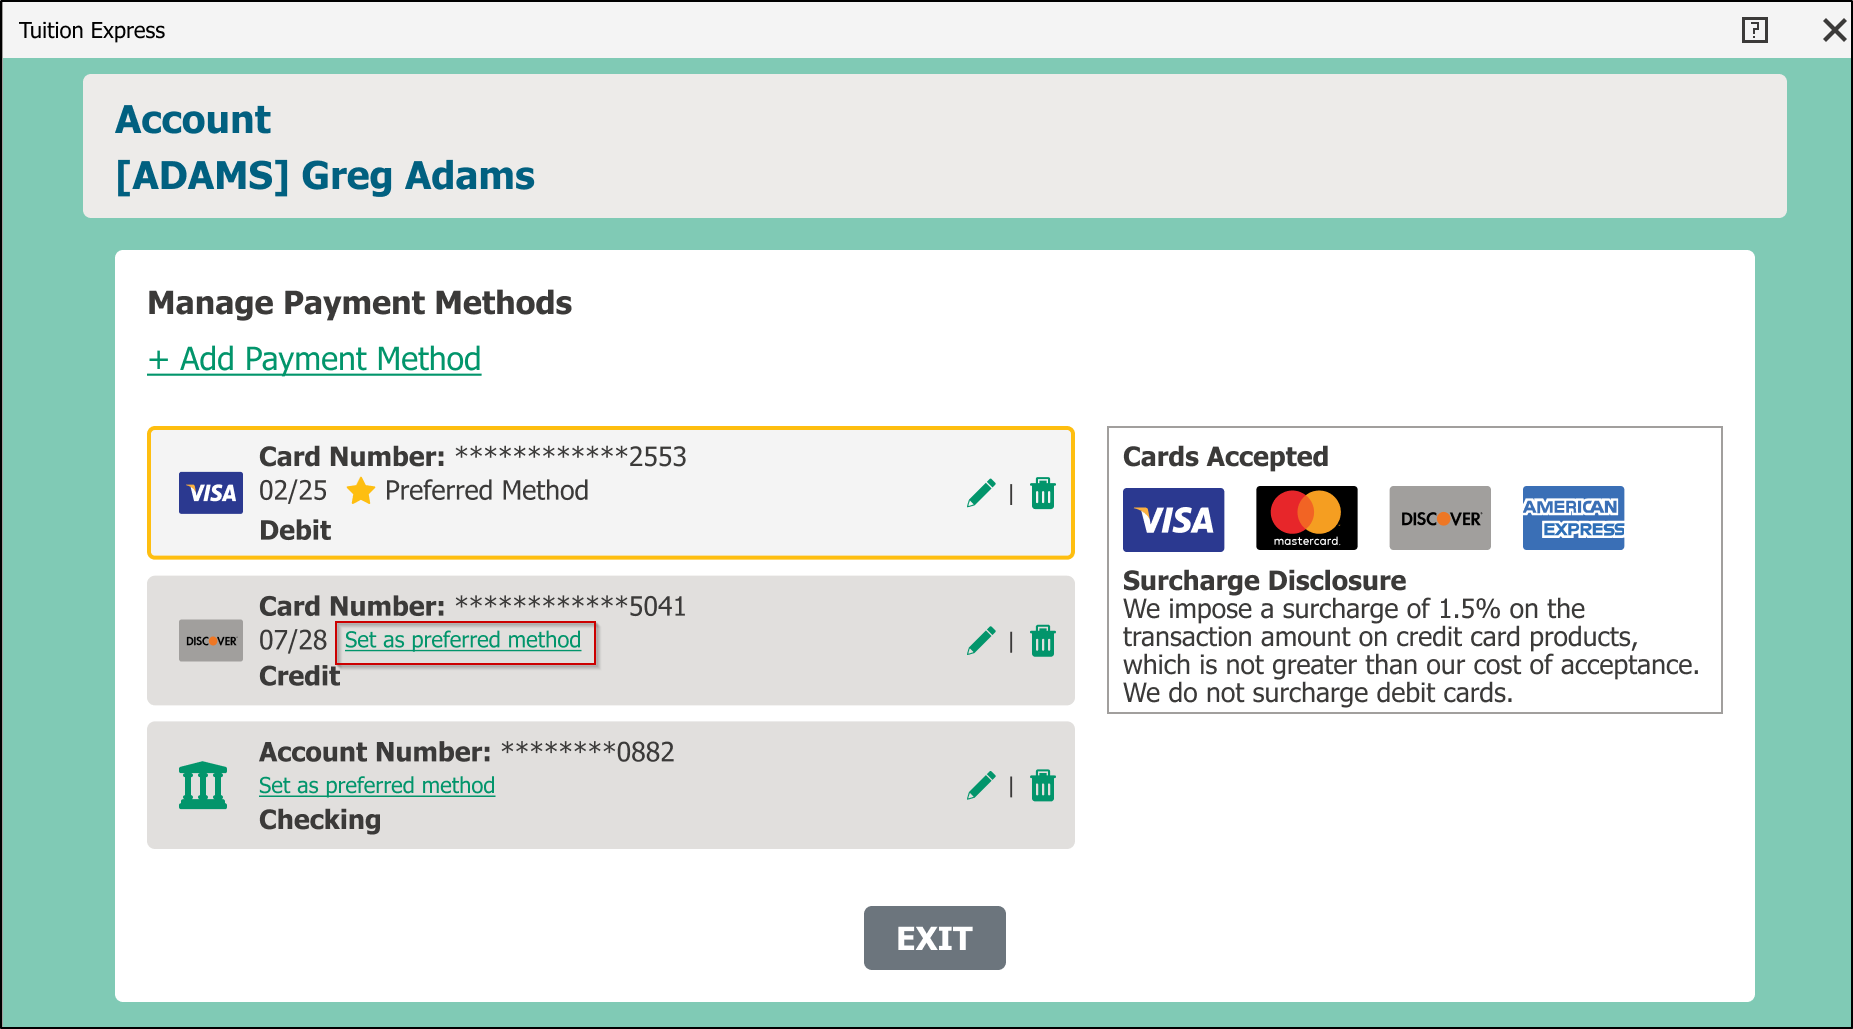
The preferred payment method will also be visible when you open the payer’s profile.

Enable or Disable Batch Processing for a Family
Look up the family and open their account.
Click the Tuition Express icon on the account toolbar to open their payment setup screen.
In the Recurring Payment Setup section, locate the checkboxes in the lower-left corner of the screen.
Check the box labeled Disable batch processing for this account.
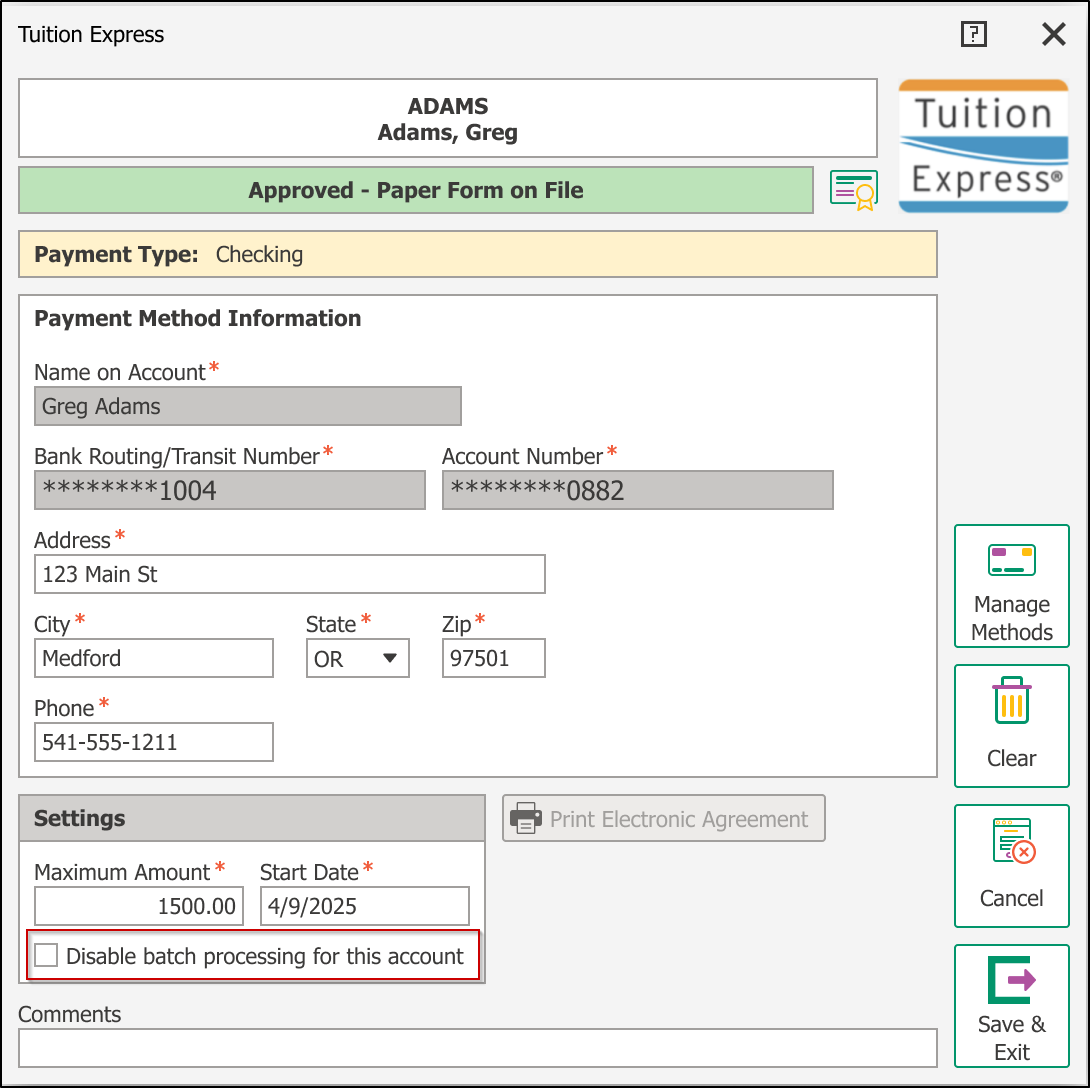
Click Save & Exit to apply your changes.
FAQ
Can I edit payment info later?
No. However you can add a new method and remove an old one using Manage Methods.
Do I need to store the signed authorization forms?
Yes, it is recommended that you print and store all completed forms securely for compliance purposes.
Can families have multiple payment methods?
Yes. You can store multiple payment methods within the payer profile. The most recently added becomes the default, but this can be changed.
Note: The system does not default to trying other stored payment methods if tuition is not collected using the preferred method.
Why would you need to manually set up a family for recurring payments?
Sometimes, families haven’t yet provided their payment details online or need help setting up recurring payments. Manually entering their payment information lets you get started quickly.
Where can I find the payment authorization form for a wet signature?
You can download it here: Tuition Express Parent Authorization Form
Use this form to collect a wet signature for newly added payment methods.